Brick slips offer an affordable and convenient way to achieve that rustic brick wall look without the traditional hassle of using full-size bricks. Whether you are planning to install brick slips for interior or exterior applications, it is crucial to seal them properly to enhance their longevity, protect against damage, and maintain their appealing appearance. In this blog post, we will explore the importance of sealing brick slips and provide a step-by-step guide on how to get it done.
Why Seal Brick Slips?
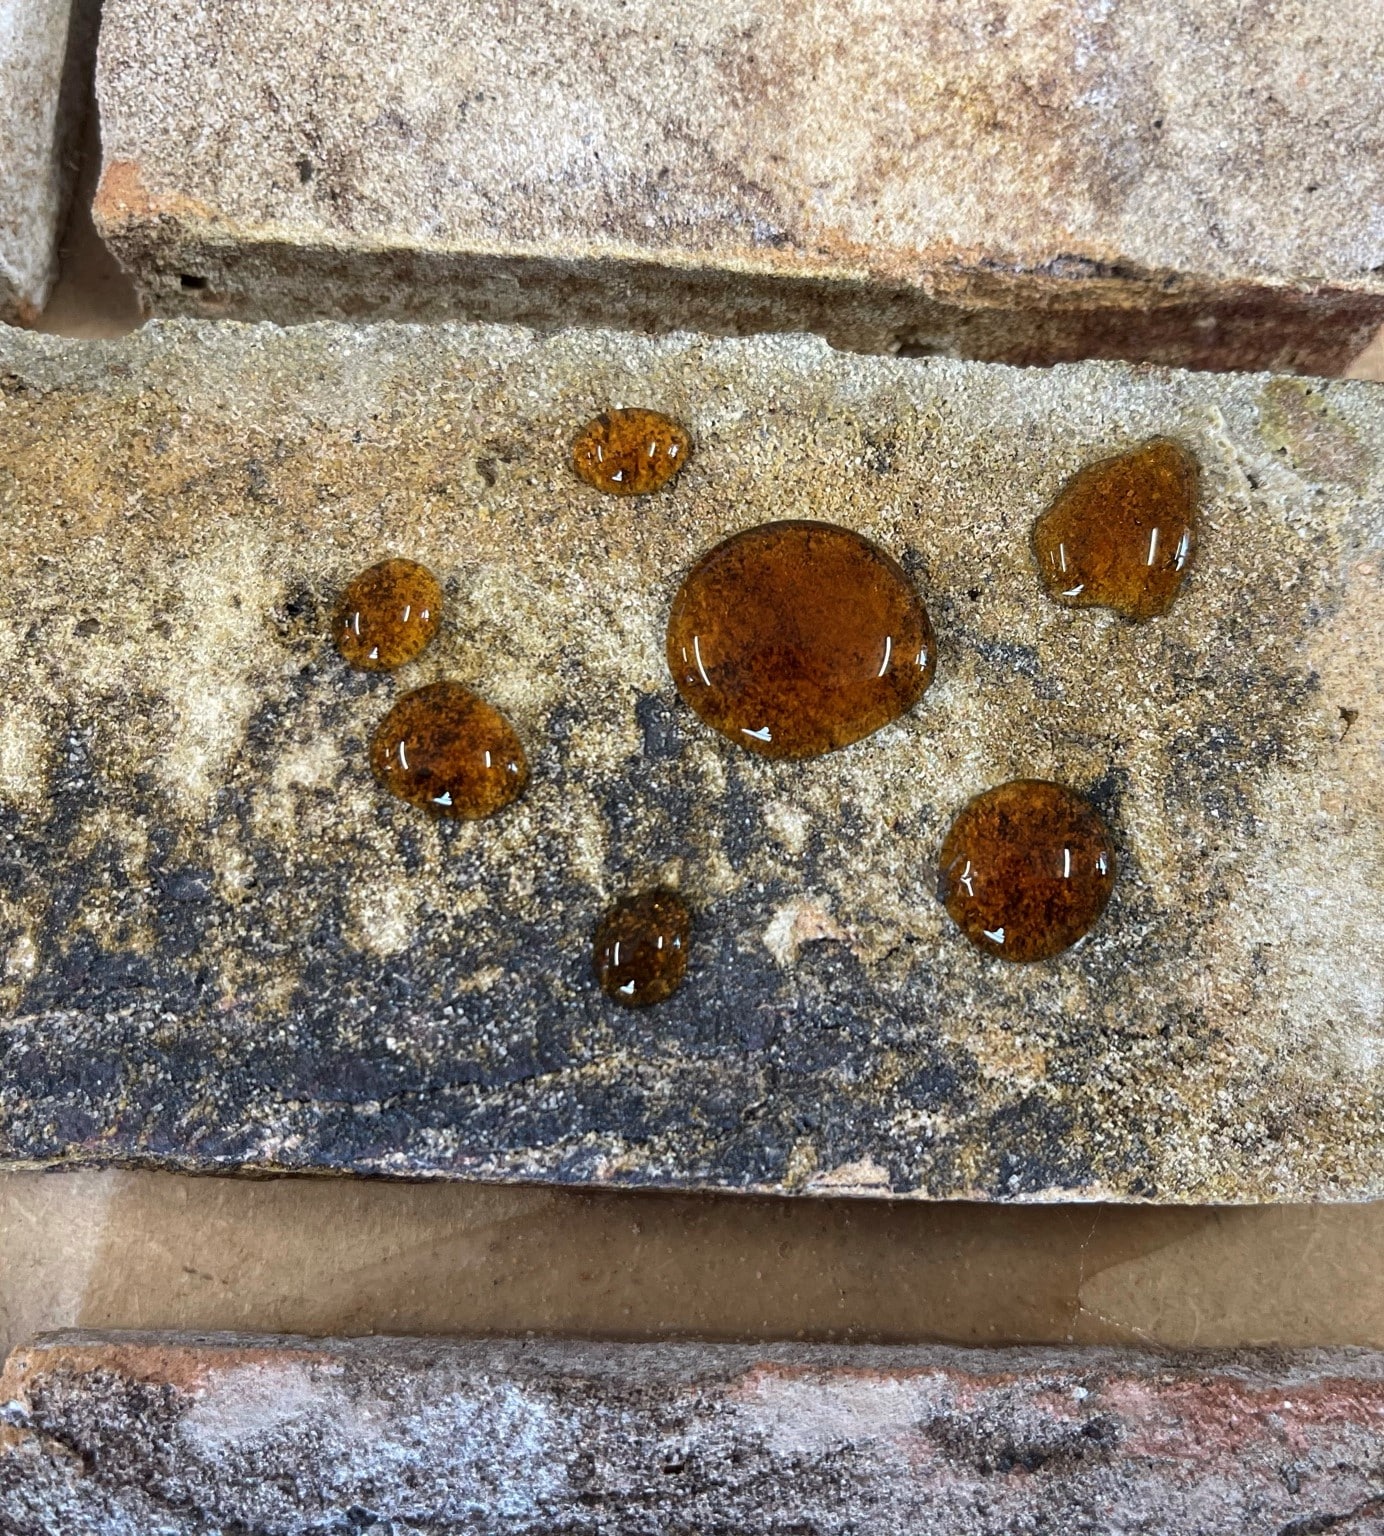
Sealing brick slips is an essential step to improve their durability and resistance to moisture, staining, and potential damage. By sealing the surface, you create a protective barrier that prevents water absorption and helps prevent the growth of mold and mildew. Additionally, the right sealant can enhance the color vibrancy of the brick slips and provide an extra layer of protection against external elements such as UV rays and pollutants.
Step-by-Step Guide to Sealing Brick Slips
Choose the Right Sealant: Buy our brick slip sealer when selecting your brick slips. We sell a convenient one litre bottle that can be used on all of our brick slips. Our sealant is specifically designed for brick or masonry surfaces. Look for products that are water repellent, breathable, and offer protection against Oil and Greasesn. It’s also important to consider the type of finish you desire, such as matte or glossy.
Prepare the Surface: Ensure that the brick slips are clean and free from any dirt, dust, or debris. If necessary, gently scrub the surface with a mild detergent and rinse thoroughly. Allow the brick slips to dry completely before proceeding.
Apply the Sealant: Begin by applying the sealant to the edges and joints of the brick slips. Use a brush or a roller to ensure even coverage. Work in small sections to prevent the sealant from drying too quickly. Pay extra attention to any porous areas that may absorb more sealer.
Allow for Absorption:Brick slips are porous, and they may require multiple coats of sealant for optimum protection. After the initial application, wait for the recommended drying time indicated by the manufacturer. Apply subsequent coats as necessary, following the same technique of working in small sections.
Check for Streaks and Bubbles: After each coat, inspect the surface for streaks, bubbles, or excess sealant. Smooth out any imperfections using a clean brush or roller. This will ensure a uniform and professional-looking finish.
Final Drying Time: Once all coats of sealant have been applied, allow the brick slips to dry completely. Keep in mind that drying times may vary based on the type and brand of sealant used. Avoid any contact or exposure to moisture during this period.
Periodic Maintenance: Depending on the sealant used, it is advisable to periodically reapply a new coat of sealant to maintain the protective barrier. This is especially important for external applications exposed to harsh weather conditions.
Conclusion
Sealing brick slips is a crucial step in ensuring their longevity and maintaining their aesthetic appeal. By following the step-by-step guide provided above, you can protect your brick slips from moisture, damage, and discoloration. Remember, using a high-quality sealant and conducting regular maintenance will enhance the durability and beauty of your brick slip installations for years to come.