Order Free Samples CLICK HERE
Our Fireplace Brick Panels were purposely created to make it easier for our customers to quickly achieve a stunning brick finish within the chamber of their fire. Compare to standard Fireplace Brick Slips, installing Fireplace Chambers is very straight forward as the pointing, levelling and bonding has all been completed for you.
Traditionally before Fireplace Chamber Panels were a thing, changing the chamber would involve ripping out old tiles or striping plaster back to brick. over recent years more and more home owners are choosing Fireplace Brick Slips or stone to clad both the chimney and chamber, Fireplace Brick Panels are a relatively new product and are designed for quick installation in under 60 minutes!
Below is a brief installation process for fitting our Fireplace Chamber Panels.
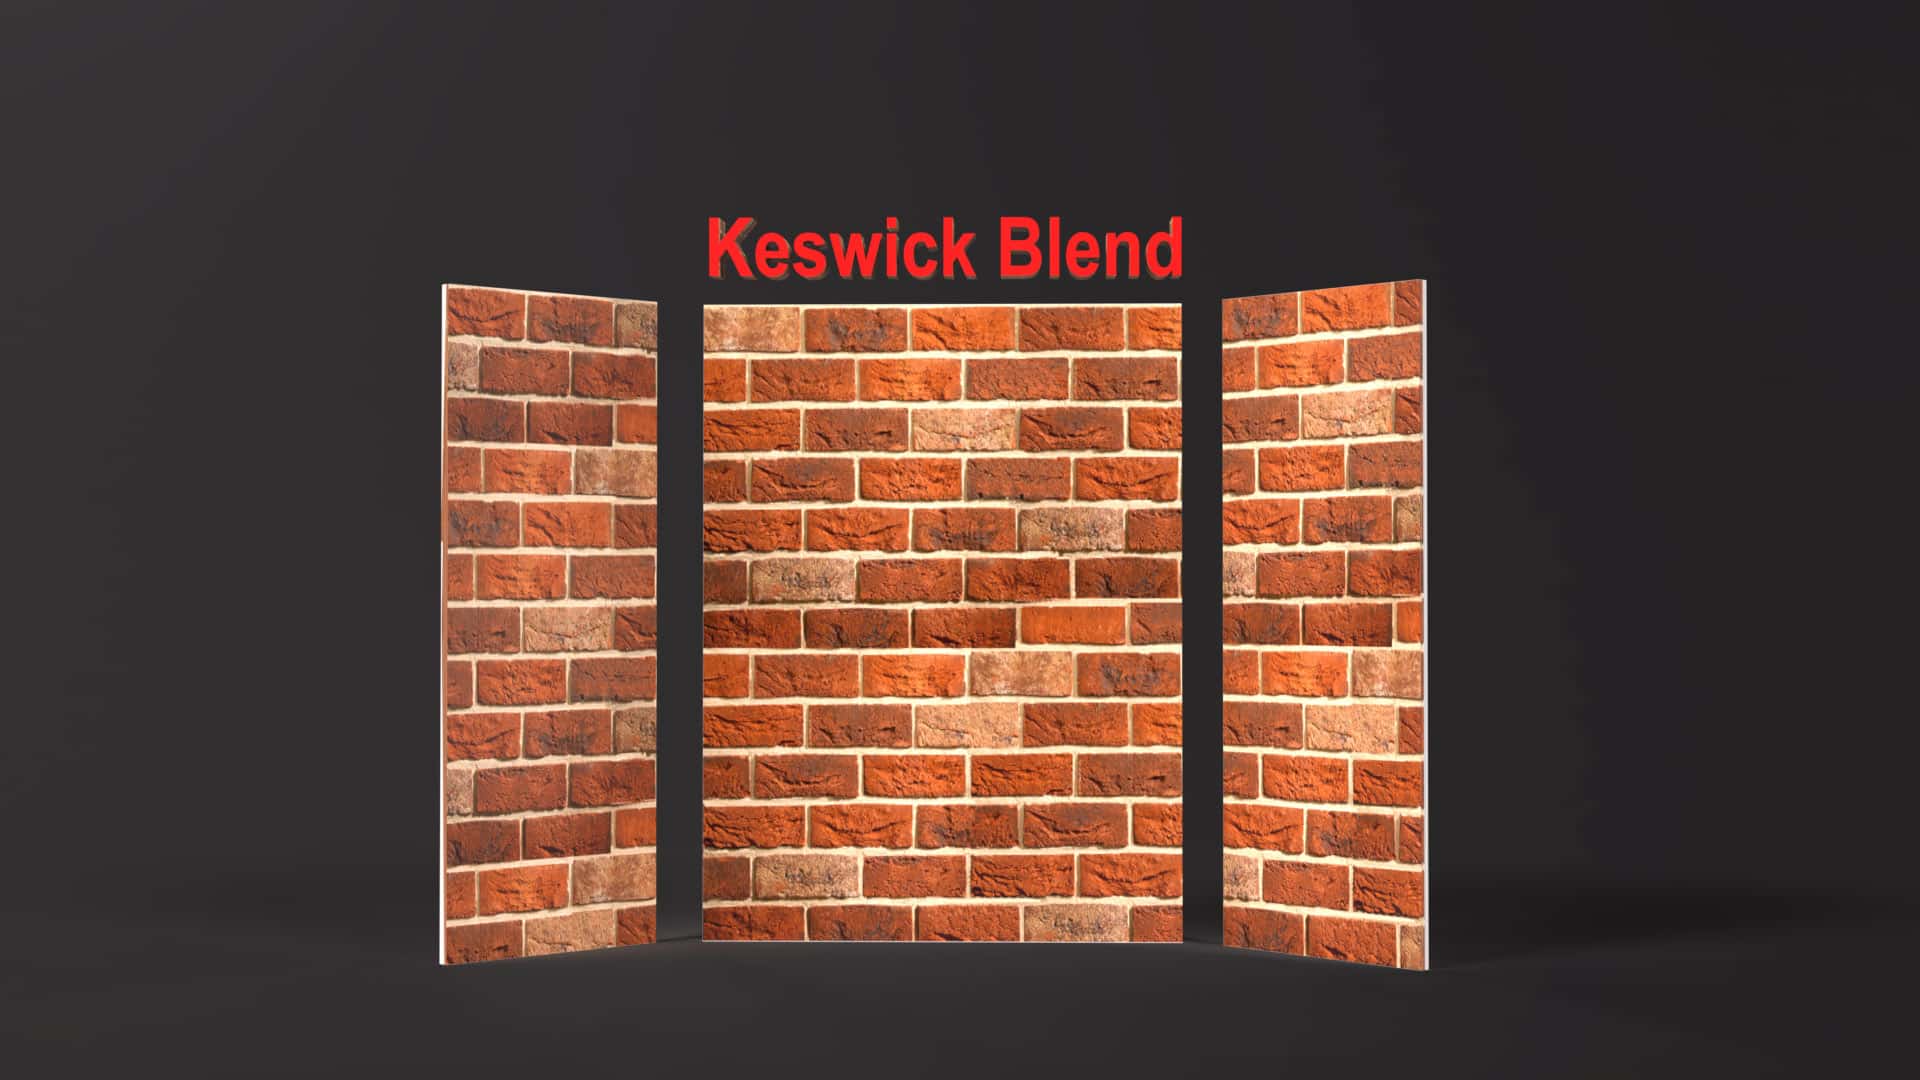
Keswick Blend Fireplace Brick Panels
It doesn’t matter what you are installing and where, everything requires surface preparation and when it comes to installing Fireplace Panels, that is never more important! Working with a fireplace chamber can be messy if it is in use, so ensure floor areas are covered to prevent a larger clean up then necessary.
Ensure all the chamber walls are clean, we recommend using a hard-wire brush to remove any dust, debris etc if there are tiles in place then remove these first etc, You need a surface that is clean, free from dust and without and loose matter such as peeling paint or bits of adhesive etc.
The next thing you want to do is use our brick slip primer to prime the walls to create a good level of adhesion for when you apply our brick slip adhesive. To use this just follow the instructions on the back of the bottle.
In terms of the hearth, this is okay to leave in place. You’ll want your fireplace chamber panels to line up perfectly with the hearth. if your hearth needs decorations or repairing we recommend this is done first before installing our Fireplace Chamber Panels.
Our fireplace brick panels are sold in one size, and consists of a back panel and two side panels. You will need to cut down your brick panel to ensure it fits. Measure the fireplace chamber twice just to be sure you have the right measurement and then transfer this over to your board. We recommend installing the back panel first so ensure this is cut to size, if it is too tall cut the top of the panel rather then the bottom as this cut will be less visible.
You then want to repeat this process for the size panels. We recommend using an angle grinder to cut these and ensure there is a good supply of water to make it easier to cut through the brick and the board and make sure you have the right PPE.
If the Chamber is slightly larger then the panels, you will want to install the fireplace brick panels low down and then use our single matching brick slips to finish off the design above where the board finishes.
Your next step is to actually fit the panels to the chamber walls. We recommend our brick slip adhesive for installing these, whilst some say apply adhesive to the wall first and some say apply to the panel first we recommend applying adhesive using a 6mm trowel to the walls then with the flat part of the trowel spread a very thin layer of adhesive to the back of the board.
Once you have fitted the Fireplace chamber panel to the back wall, you then want to do the same with the side panels. ensure the cuts of the chamber panel are facing inwards toward the back wall.
Allow it to dry for 24 hours, we then advise sealing the Fireplace Brick Panels using our Brick slip Sealer to add protection and prevent from staining as much as possible.